Rollo's Homemade Slip- Floats Made Easy!
Here is a cheap way to make slip-floats for big livebaits. First of all, go buy ya a couple of those swimming pool noodles at the local dollar store. They only cost a dollar or two apiece, and will make more than enough to last you for a while.

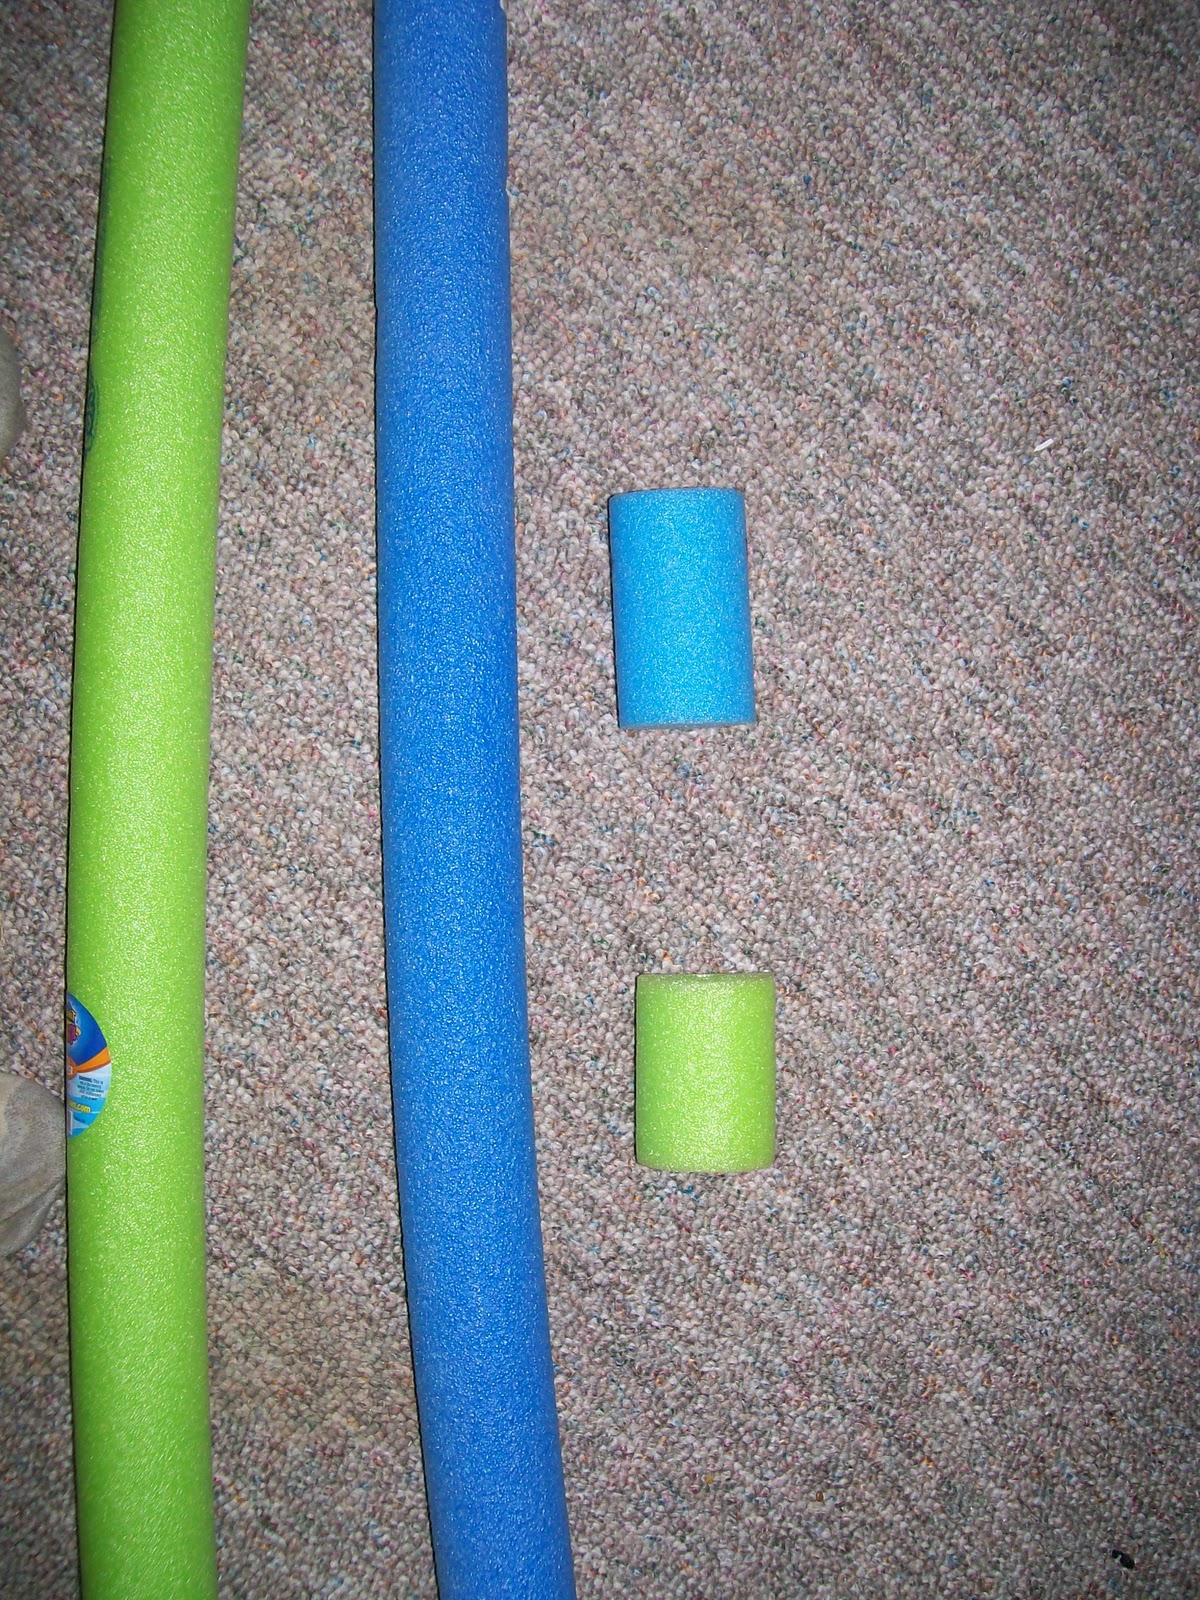


If you fish after dark, and want to have an eye on your floats, eight inch glow bracelets fit perfectly around these floats as well.

Float with glowstick.

Here is another way to make your own slipfloats similar that I also use. If you dont want to spend the time making caps etc. Take a small balsa float , shove it down in the foam float. This eliminates the need for the caps. They fit tight, but I still prefer making my own with caps. They seem to hold up alot longer. The caps act as a barrier for the foam against structure when dragging them back in.


One last hint...If you're using mono, One stop knot is often fine. But, if you're running a braided line such as Berkley Fireline, or Power Pro, etc. You might wanna double up your stop knots when tying up. Stop knots don't lock in on braid like they do on mono. To keep them from slipping, when setting them for desired depths,,,, Simply put two on back to back !... rollo
Knots
Portable Sinker Molding Station
I'm always looking for cheap ways to make different stuff to use towards fishing. Gotta say this is one of my favorites so far. My wife who is a teacher picked up a rolling plastic stand on lockable casters. After it sat in the garage without use, I decided to claim it as mine. I came up with a very efficient setup to have all my molding supplies at hand, and capable of moving it very easily. Here is the stand....

As you can see I placed the molding pot on the left side, and drilled holes through the table, bolting it in place. What makes this cart really nice, it's equipped with a power bar attached on back for easy access. And more available plug-ins. I recommend all molding to be done in well- ventilated areas. I can roll this outside, and use the power bar to plug in floor fans to help move the deadly lead fumes away as I mold. The camo tape was added for a non-slip spot for other lead melting pans and spooning ladles. for transporting the station you will later see.

Next, I took a plastic storage container with drawers, and made my compartments for different molds, paints, molding accessories (such as brass eyelets, hooks for making jigheads etc.). As you will see this fit nicely on the lower portion of the cart, and very accessible.

I added an empty coffee can for catching dripping lead, and a spot to dump impuritys as I mold. Also, a large plastic container to the right to drop the sinkers in as I mold. This container is very handy not only for a bucket for cooling sinkers, but makes a great cover for the station as well.

As you can see, this cart offers a very comfortable position to sit down, and mold many sinkers. BTW. this pic. was only taken to help understand the dimension. ALWAYS wear long sleeves, heavy pants, gloves, and wear safety glasses while dealing with hot liquids such as lead. I learned first hand years ago, hot materials and moisture can make for a bad experience with great danger!

Here is a top view. Pots, ladles, and ingot tray, extra extension cord. Before storing.

Final view of station. Plastic sinker box over top, secured by rubber strap, and another around the sides making for easy transport!

Drift buckets can be used in many different ways. Alot of fishermen use drift buckets for drifting purposes on lakes and rivers. They use them to cover large scale areas, using them to help boat control along with other variables such as current and wind. Drift buckets used properly often create a drag system, ( or what I call a floating anchor). They can be very effective when trying to slow down a boats drift to present baits accordingly. However, drift buckets can also be used in other ways. When dealing with heavy current, I like to anchor off the front, and drop a bucket off each back corner to help hold the boat straight using the current to my advantage. This eliminates alot of boat swing ! Here is a simple way to make your own drift buckets.
First, you need a couple five-gallon buckets. Next... drill four holes along the upper outside of the bucket for the anchoring points.

Then drill five 2inch holes in the bottom of the bucket. (as shown)

After that thread your outer rope (yellow) throughout the hole to make for a central anchor point.

Last, I attached the outer rope with a d- ring, but also attached a swivel ring so there would be no bucket, or rope twist in heavy current. Then I added 15ft. of rope to anchor to the boat.
